|
Contour and
Cross Contour Drawings |
I Can:
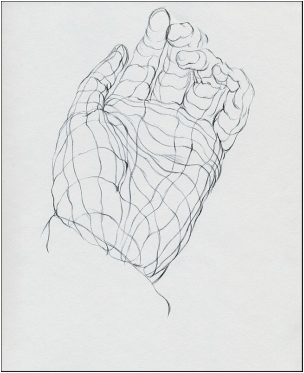
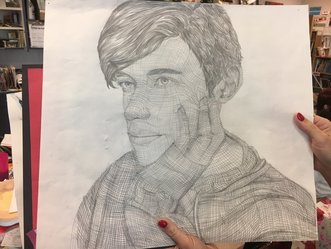
Use cross contour lines to define three dimensional forms in a drawing composition.
Vary the weight and quality of line in ink to create interest, texture, variety, and emphasis in my composition.
Read the line articles athttp://www.studentartguide.com/articles/line-drawings
Make notes on terminology in your visual journal and make detailed accompanying notes. Be sure to include blind contour and contour drawings.
View the Powerpoint with examples athttps://frankhurtart.wikispaces.com/file/view/Contour+and+Gesture.pdf
Make notes, begin practicing contour drawings and gestural drawings.
View a Powerpoint on Cross Contour Animals HERE
CROSS CONTOUR ANIMALS PROCEDURE
STEPS – This instructs you step by step on the procedures to follow so you may successfully complete this project.
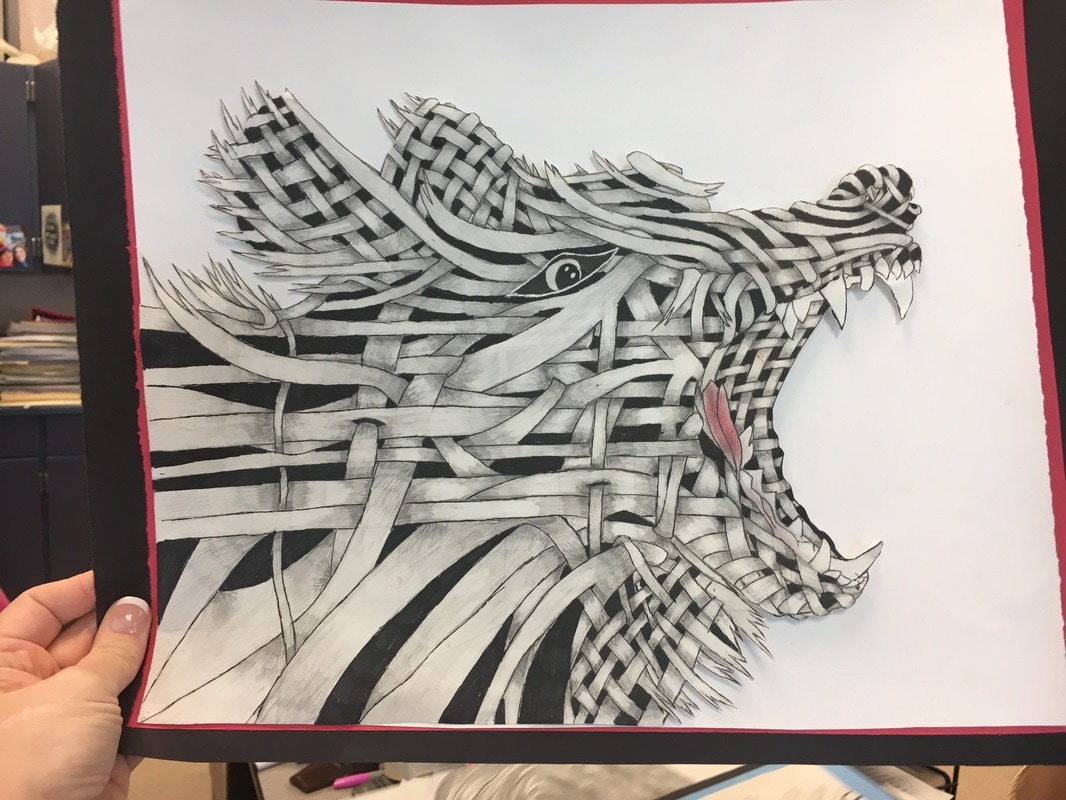
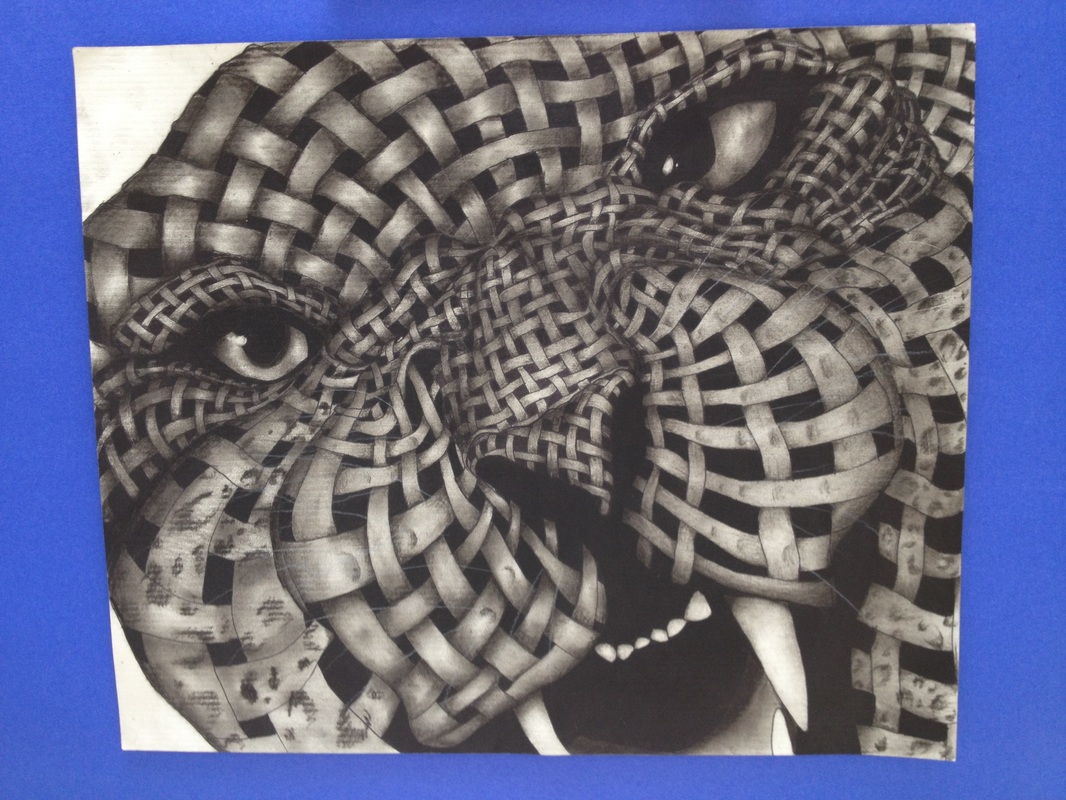
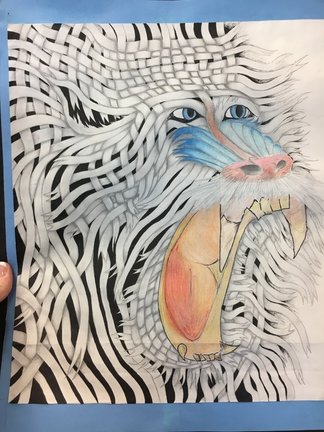
1) Select a high interest animal portrait. Snarling animals are suggested.
2) Complete a light line drawing that is accurate and uses up at least ¾’s of the paper surface.
3) After viewing the slides of this project (anchor set/best practices), begin drawing in the contour lines that will be used as guides for your wrapping. A weaving type style/pattern is required on this project. The “wrapping” should vary in length and width. This should be done to both create contrast in the weaving as well as work with the patterns of dark and light in your original image.
4) Once all the pencil work is completed, carefully go over the lines with pen and ink. Fill in the negative spaces with ink.
5) Begin shading the wrapping with your pencil. Think of how the light would work with the bottom, middle and top wrapping. Be careful to not smear your work.
6) Complete your drawing by completing lifelike eyes and possibly teeth using Prismacolor pencils.
7) Complete the written portion of your assessment sheet.
8) Complete your rubric and give yourself a letter grade.
9) Tape the paper to the back of your project.
ASSESSMENT
1) Did the student work from an animal portrait?
2) Did the student complete an accurate line drawing of the animal?
3) Did the student use at least 3/4’s of the paper space?
4) Are the values used correct throughout the drawing?
5) Are the contour lines and wraps drawn in correctly?
6) Is the work done in an organized, skillful manner and creative from beginning to end?
For example, varied lines where needed, neatly drawn, consistent use of values, no errant marks, variation in sizes and shapes, good contrast, etc.
6) Is the final drawing clean, unfolded and undamaged?
7) Is the drawing completely finished?
8) Did the student use class time wisely?
Your browser does not support viewing this document. Click here to download the document.
